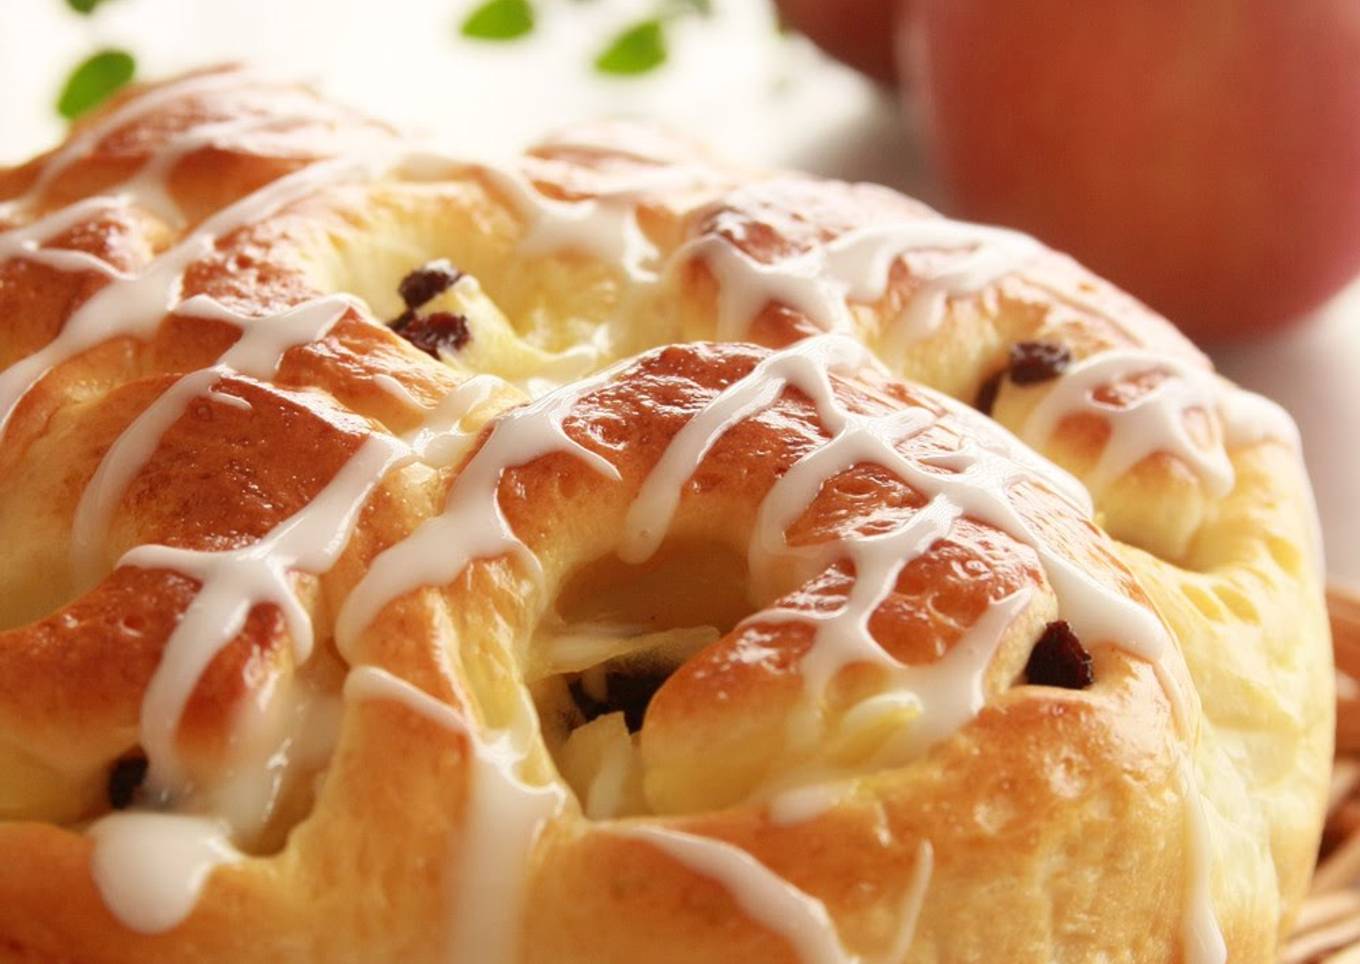
Apple Bread
Hello everybody, it's me, Dave, welcome to our recipe page. Today, we're going to make a special dish, Apple Bread. One of my favorites. For mine, I'm gonna make it a bit unique. This is gonna smell and look delicious.
Apple Bread is one of the most favored of current trending meals in the world. It is easy, it's quick, it tastes yummy. It is enjoyed by millions daily. Apple Bread is something that I have loved my whole life. They are nice and they look wonderful.
Many things affect the quality of taste from Apple Bread, starting from the type of ingredients, then the selection of fresh ingredients, the ability to cut dishes to how to make and serve them. Don't worry if you want to prepare Apple Bread delicious at home, because if you already know the trick then this dish can be used as an extraordinary special treat.
As for the number of servings that can be served to make Apple Bread is 6 servings. So make sure this portion is enough to serve for yourself and your beloved family.
To begin with this recipe, we must first prepare a few components. You can cook Apple Bread using 21 ingredients and 30 steps. Here is how you can achieve that.
When it is apple season and there are a lot of apples at the grocery store, I start to crave this bread.
Line the pan with parchment paper (to make it easier to remove from the oven).
Adjust the amount of sugar added to the apples to your preference.
You can also top it with apricot jam mixed with some hot water. It will make the glaze bread, giving it a nice touch.
This bread makes a good gift, so I bake it often. Recipe by DUFFYchan
Ingredients and spices that need to be Make ready to make Apple Bread:
- 160 grams Bread (strong) flour
- 40 grams Cake flour
- 20 grams Sugar
- 3 grams Salt
- 7 grams Powdered skim milk
- 4 grams Dry yeast
- 20 grams Egg
- 110 grams Water
- 20 grams Butter
- 1 leftover amount from making the bread dough Egg for the glaze
- For the filling
- 1 large size Apple
- 30 grams Sugar
- 1 tsp Lemon juice
- 30 grams Raisins
- Topping 1: Icing
- 30 grams Powdered sugar
- 4 grams Water
- Topping 2: Apricot jam
- 1 tbsp Apricot jam
- 1 tsp Hot water
Instructions to make to make Apple Bread
- Prepare the bread dough up to the first proofing (until doubled in size).
- Add the butter after the dough has formed a good stretchy gluten film (when you can see your fingers through the stretched dough).
- If using a bread machine, start kneading all of the ingredients except the butter. Add the butter 10 minutes after it starts kneading.
- Combine the apple (slice into thin wedges), sugar and lemon juice in a heatproof bowl and microwave it uncovered for about 4-5 minutes or until tender.

- Reserve the juice from the apple and set it aside to cool.
- Soak the raisins in lukewarm water to rehydrate.

- After the first proofing is done, punch the dough to let the trapped air out, roll it into a ball and let it rest for 20 minutes.
- Drain the juice from the apple, and drain the excess water from the raisins.

- Press the dough gently with your palm to remove the trapped air. Using a rolling pin, roll out the dough into a 30 x 20 cm rectangle.

- Sprinkle the apple and raisins evenly on the dough, leaving the edge to seal. Roll it up just like you would roll up a sushi.

- Seal the end tightly.

- Place the dough with the seam side down. With a knife, slice the dough into 7 equal pieces.

- Place them into a cake pan cut side facing up, and press on them gently. (Put one piece in the middle and surround it with 6 other pieces.)

- It will look best if you place the smallest piece in the center.
- Let the dough rise again. Let it rise until the dough fills up to 80% of the cake pan height. (The rising temperature should be 40℃ in the oven on the dough-rising setting or at room temperature in the summer time.)

- Brush with egg wash and bake it for 25-30 minutes in an oven preheated to 180℃. Rotate the pan after 15 minutes of baking to avoid uneven baking.
- If it looks like it is scorching on top, cover it with aluminum foil. (The oven temperature will fall from opening the door, so do this quickly, taking care not to burn yourself.)
- Once it is done baking, drop the pan onto the table to "shock" the cake to prevent shrinkage.
- I usually place a mug under the cake pan to push the bread out of the pan, and slide it onto a cake rack.

- Let it cool on a rack.

- [Icing] Add a small amount of water to the powered sugar, and mix it well to make the icing (it should be slightly stiff).
- I don't own a pastry tip, so I put it in a plastic bag and cut the corner to make a small hole and use it as a piping bag.

- Topping 1: Drizzle the icing onto the bread and it is done.

- Topping 2: Dissolve the apricot jam in warm water and spread on the bread.

- These were made in muffin molds (with the apricot jam topping).

- These were baked in aluminum cups without any mold.

- These were baked in muffin molds, sprinkled with powdered sugar.

- This one was baked in a ring-shaped pan, but it cooked through too strongly. It is moister baked in a round cake pan.

- When you are warming the bread the next day, break off one section, wrap it with plastic wrap and microwave it at 500 W for 20 seconds. It will be come out as though freshly baked.
- The water temperature should be 30℃ in the spring and fall, 10℃ in the summer, and 45℃ in the winter. I use the microwave to warm the water.
As your experience and also self-confidence expands, you will locate that you have much more natural control over your diet and adapt your diet to your individual preferences in time. Whether you wish to offer a dish that utilizes fewer or more ingredients or is a little basically hot, you can make easy changes to accomplish this objective. In other words, start making your recipes promptly. When it comes to fundamental cooking skills for newbies you do not need to discover them however just if you grasp some easy cooking techniques.
This isn't a total overview to quick and also easy lunch dishes yet its excellent food for thought. Ideally this will obtain your creative juices streaming so you can prepare tasty meals for your family without doing a lot of heavy meals on your trip.
So that is going to wrap this up for this special food Step-by-Step Guide to Prepare Favorite Apple Bread. Thank you very much for your time. I'm sure you can make this at home. There is gonna be interesting food in home recipes coming up. Remember to bookmark this page in your browser, and share it to your loved ones, friends and colleague. Thank you for reading. Go on get cooking!


Comments
Post a Comment